
Kitchen Splashback Ideas

Kitchen splashback ideas for a cleaner, easier kitchen
If you are searching for kitchen splashback ideas, you are usually trying to solve two things at once: how to protect the wall and how to improve the look of your kitchen. The easiest splashback ideas are the ones that do not turn into a messy renovation. With our kitchen splashback, you get a subtle glass splashback effect from a glossy, self-adhesive panel made for everyday cooking. You can explore kitchen splashbacks designed to be heat-resistant, moisture-resistant and easy to keep clean.
These kitchen splashback ideas work because the product is designed for everyday use, from steam and grease to the occasional spill. The splashback is made from high-quality, UV-resistant and PVC-free material, helping the colour stay stable over time. It is designed for long-term use and can sit neatly on the wall behind your hob or along a worktop, provided the surface is suitable. If you want the best kitchen splashback ideas, start with a solution that helps protect your kitchen walls and still improves the look of your kitchen.
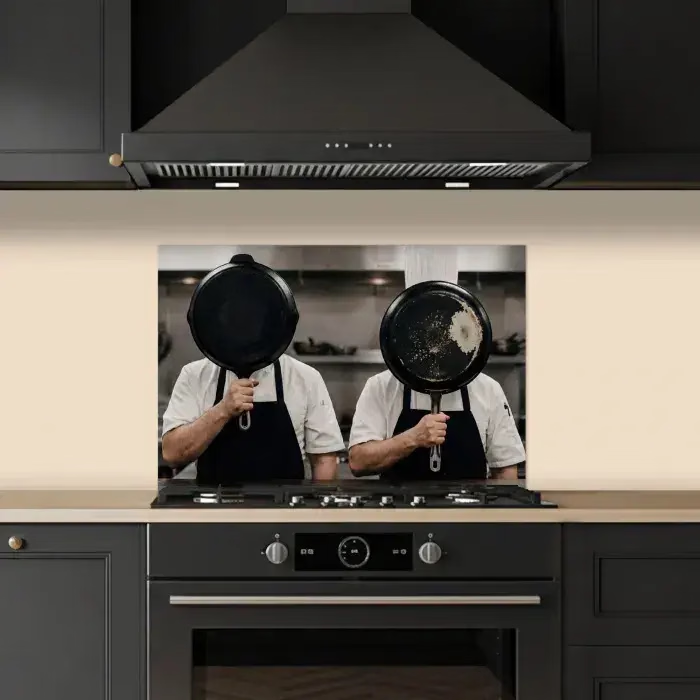
Splashback ideas for kitchens: colour, pattern and texture
When people look for splashback ideas for kitchens, they often wonder whether to go bold or keep the space neutral. Some people call this area a backsplash, but the goal is the same: a practical surface that also improves the overall look. With our splashback range, you can choose a pre-designed finish or create a personalised panel with your own photo. That makes the splashback design part of the wider kitchen design rather than just a background detail.
Think in terms of colour, pattern and texture, not just a single tile effect. A marble splashback look can lift a classic white scheme, while a blue patterned design adds personality without changing every cabinet or worktop. Emerald green can feel eye-catching and on-trend next to dark wood, and a deep grey panel can suit a Scandinavian, farmhouse or cosy modern kitchen style.
Tile-style splashbacks with herringbone and a glass splashback look
If you love the feel of tile but do not want grout lines, tile-style printed splashbacks are a practical way to get that look. A herringbone pattern can give movement and structure behind the hob, while white herringbone keeps the area bright and clean-looking. A scallop design is useful if you want something playful but still tidy, especially in smaller kitchens where the wall behind the cooker is very visible. These details can express a unique style without making the whole kitchen feel busy.
If glass splashbacks are your starting point, the glass-look finish gives you a sleek appearance without using a heavy glass panel. When you browse a range of glass kitchen splashbacks for inspiration, look at how the pattern sits with your worktops and cabinet colour. Smaller patterns can look lively if your worktop is plain, while larger shapes often suit calmer worktops. For more tile-style inspiration, you can browse kitchen tile splashback ideas and translate those looks into a single, wipeable splashback panel.
How to choose the perfect splashback behind the hob
A perfect splashback is one that handles real cooking, especially behind the hob, where sauces, oils and steam land most often. Our splashback is heat-resistant and moisture-resistant, so it is made for the daily splash zone in a cooker splashback area. If you have a gas hob, always follow the safety distances from your hob supplier and avoid permanent exposure to direct flames or hot air. Around a kitchen hob, that guidance matters because heat sources and the cooking area can vary from home to home.
People also ask about toughened glass when they want a glass-like finish, because they associate it with durability. This product is not toughened glass; it is a high-quality, UV-resistant and PVC-free splashback with a luxury glass-look gloss. The main benefit is that the smooth surface is easy to clean and simple to keep hygienic around food preparation. If you are comparing tile looks, our kitchen splashback tiles styles are a simple way to get that finish without grout.
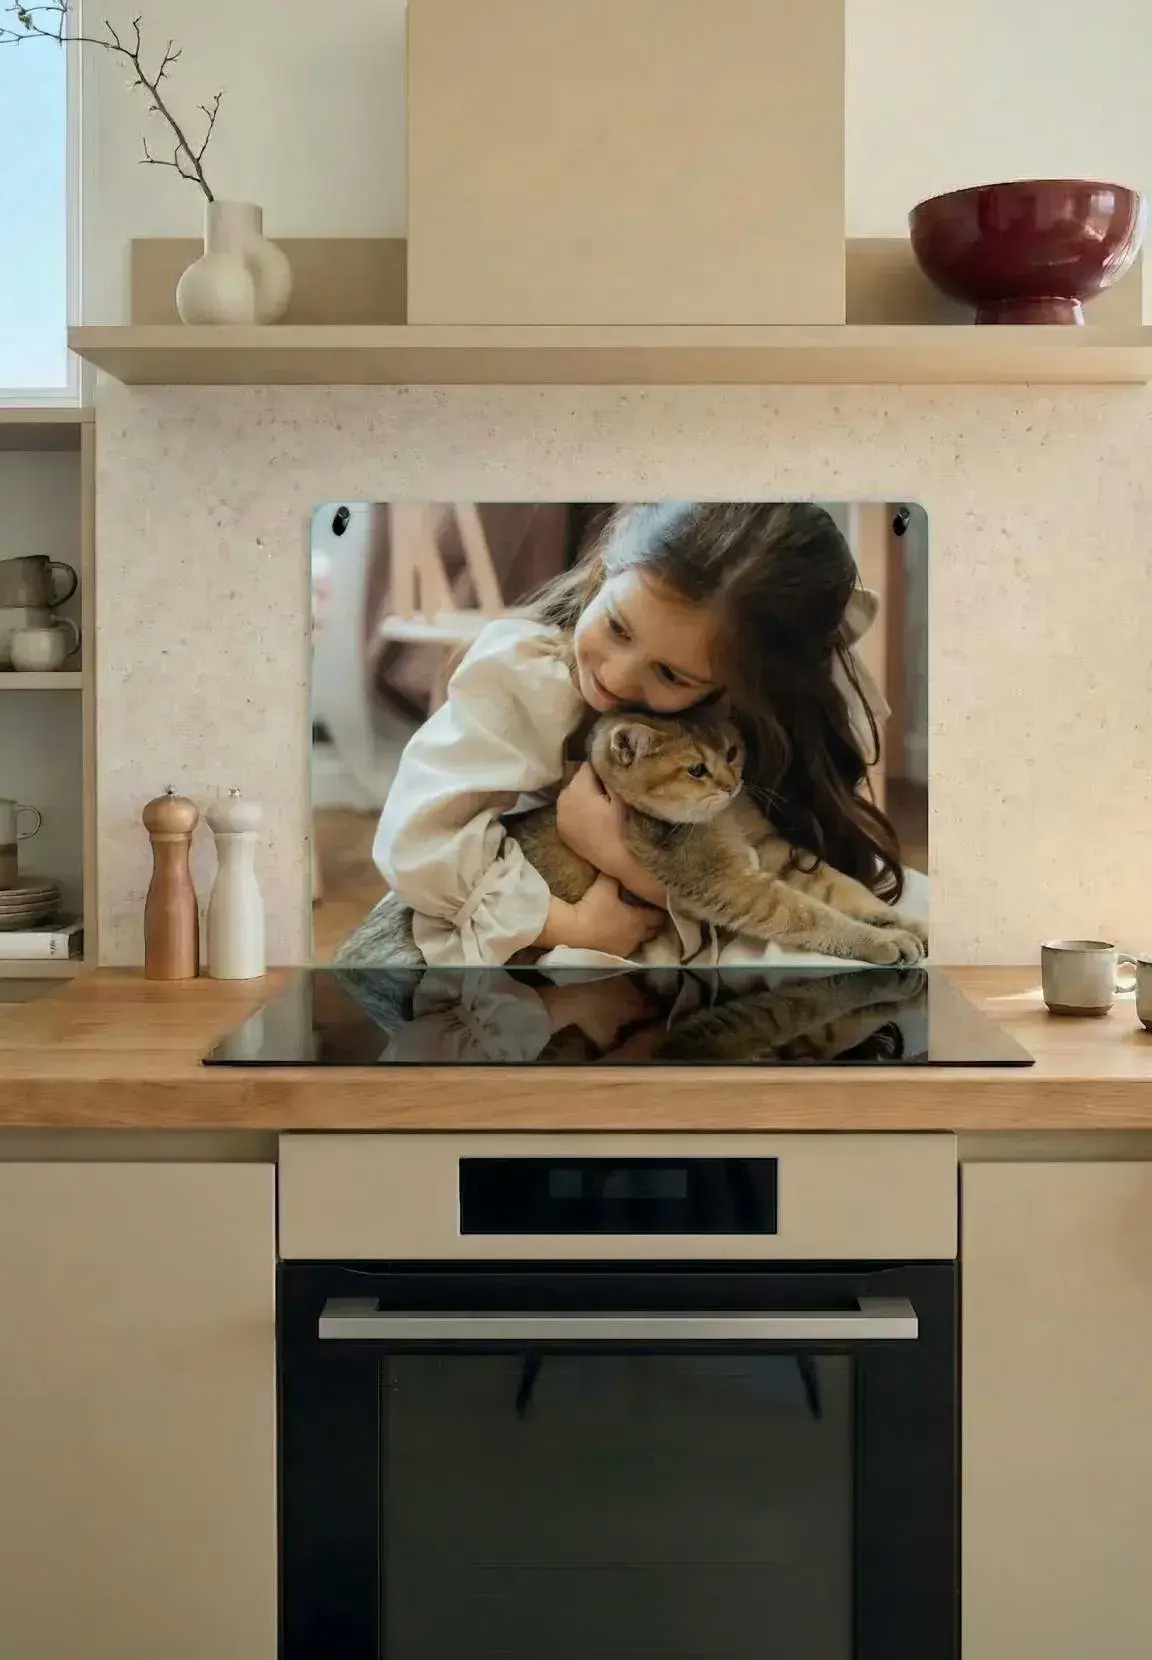
Kitchen splashback installation on tiles, plaster and painted walls
One of the most useful kitchen splashback ideas is choosing a splashback that you can fit without extra glue. This kitchen splashback has a self-adhesive backing, so installation is clean and straightforward when the surface is properly prepared. It can be applied to suitable tiles, plasterwork and painted walls, as long as the surface is stable, flat and non-porous for the best adhesion. The product can also be used on suitable wood, concrete and gypsum surfaces, giving you flexibility when you renovate.
You position the panel carefully and press it onto a clean, dry surface, making sure no water can run behind the adhesive layer. If you need a neater finish around edges, you can add practical fitting tools such as a professional mounting set, marker pen, cutting ruler, Stanley knife or felt squeegee. The felt squeegee helps apply the panel smoothly and reduces the risk of scratches during fitting. This makes the splashback a sensible option if you want a quick update without rebuilding the kitchen walls.
Splashback design, splashback colours and personalised sizes
Not every kitchen is the same, so sizing is where many splashback ideas succeed or fail. Standard splashback panels are available from 60 x 40 to 90 x 70 cm, with 80 x 60 cm as the most popular size. Larger kitchen wall panels are available from 150 x 60 to 400 x 80 cm, while a wall panel with your own photo is available from 150 x 60 to 300 x 80 cm. These options help you cover anything from a compact area behind the cooker to a wider run above the worktops.
If you want something unique, you can personalise your splashback and upload your own image. A photo splashback can become a focal point, and you can choose an optional professional photo check for the best possible result. You can also add microfibre cleaning cloths in packs of 1, 5 or 10 to help maintain the glossy finish. For a brighter option, a white kitchen splashback can lift the space and suit a classic white, Scandinavian or farmhouse scheme.
Cleaning and care: how to keep splashbacks easy to clean and looking new
A splashback should make life easier, not add another chore, so cleaning matters. To keep the surface looking its best, wipe the splashback with a soft cloth and a mild cleaning product, then dry it to maintain the sleek appearance. Avoid abrasive materials and aggressive chemicals, because they can dull the finish and affect the glass-look shine. This simple routine helps the splashback stay easy to clean and keeps it clean and hygienic around food preparation.
It is also sensible to remove food residues quickly, especially strongly coloured sauces. Wipe off tomato sauce or curry straight away to reduce the risk of staining or discolouration, particularly in the area behind the hob where heat can set marks faster. If you cook often, this habit is one of the most effective splashback ideas you can adopt because it keeps the panel looking fresh with minimal effort. In day-to-day use, you will notice how much easier a smooth splashback is compared with grout lines from tiles.
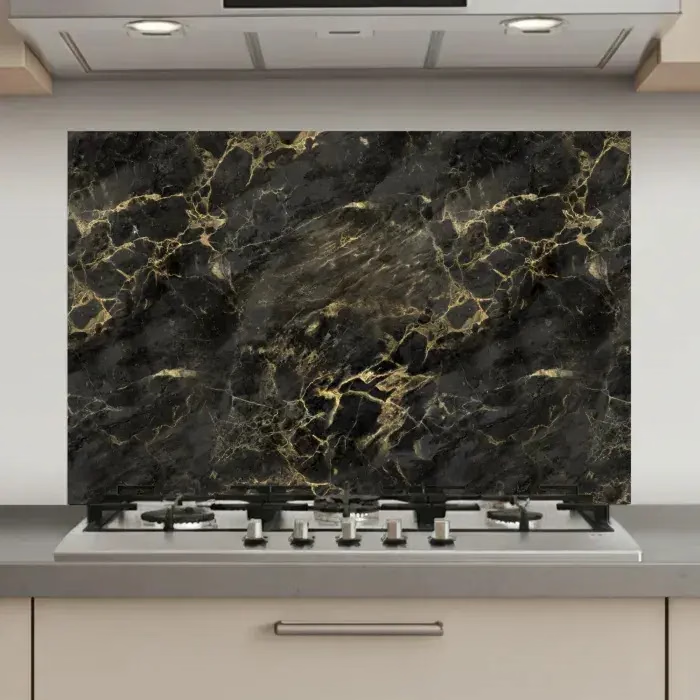
Choose the splashback for your new kitchen today
If you are planning a new kitchen, start by deciding whether the splashback should blend in or stand out. A soft neutral panel can support the room quietly, while emerald tones, warm metallics or an Art Deco design can create a stronger focal point. If you want a bold statement, explore a black kitchen splashback and balance it with lighter walls, warm lighting or pale kitchen accessories. Instead of chasing a broad range of colours at random, choose the splashback colours that make the whole kitchen feel intentional.
The right splashback should protect the wall, improve the kitchen look and make daily cleaning easier. Choose a pre-designed finish, personalise the panel with your own photo or select a larger wall panel if you need more coverage. Order your kitchen splashback on onlywow.co.uk today and upgrade the wall behind your hob with a heat-resistant, moisture-resistant, glass-look finish made for everyday cooking.
Yes, the splashback adheres to tiles as long as the surface is clean, dry, and smooth. The self-adhesive backing allows you to mount it quickly without glue or tools.
You can cut the splashback to size using a Stanley knife, which helps you shape it around sockets and corners. Measure carefully and score gradually for the cleanest result.
Yes, it is heat-resistant and designed for use in the cooking area, including behind the hob. It is also water-repellent and resistant to grease, making it practical for everyday cooking.
Use a soft cloth with a mild cleaning product, then wipe dry to maintain the glass-look finish. Avoid abrasive pads and aggressive chemicals, and remove strongly coloured food, such as curry or tomato sauce, quickly to prevent staining.
You can order a personalised splashback by uploading your own image, and an optional professional photo check is available. Standard own-photo wall panels are available from 150 x 60 to 300 x 80 cm.