
Kitchen Tile Splashback Ideas

Kitchen splashback tile ideas for a perfect splashback in your dream kitchen
If you are searching for kitchen tile splashback ideas, you probably want the look of tiles without the mess of grout, drilling, or a long renovation. Our self-adhesive kitchen splashback panel is made for exactly that: it gives you tile-inspired style with a subtle glass look while protecting your kitchen walls from splashes. These kitchen tile splashback ideas work especially well when you want a quick update in a new kitchen or a small refresh around the hob and worktop. You can explore more kitchen splashbacks and pick a design that matches your kitchen space.
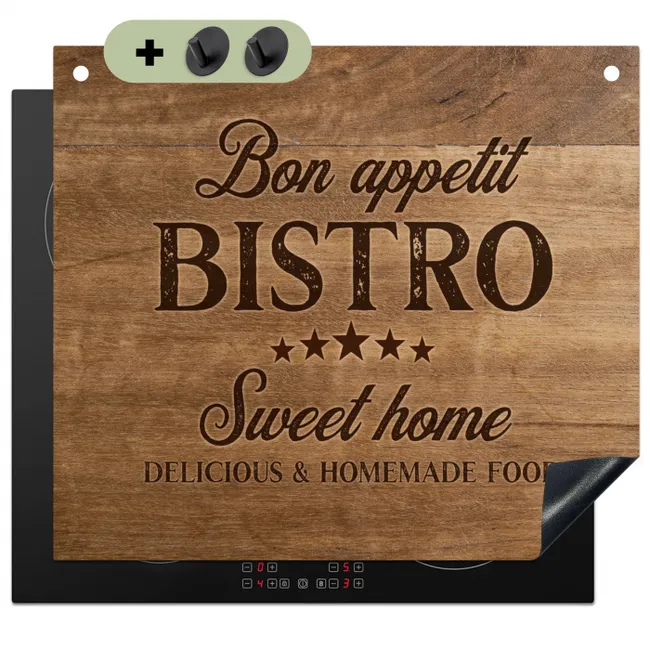
Because the panel is UV-resistant and PVC-free, it is built for everyday cooking and long-term colour stability. It is water-repellent, heat-resistant, and designed to handle splashes, spills, fat, and steam where wall tiles usually struggle to stay spotless. The back is self-adhesive, so you can mount it in about one minute, without glue, tools, drilling, or sealant. It also sticks to tiles, plaster, and painted walls, so you can upgrade your splashback area even if you already have old kitchen tiles.
Kitchen tile look: why this splashback works in a new kitchen
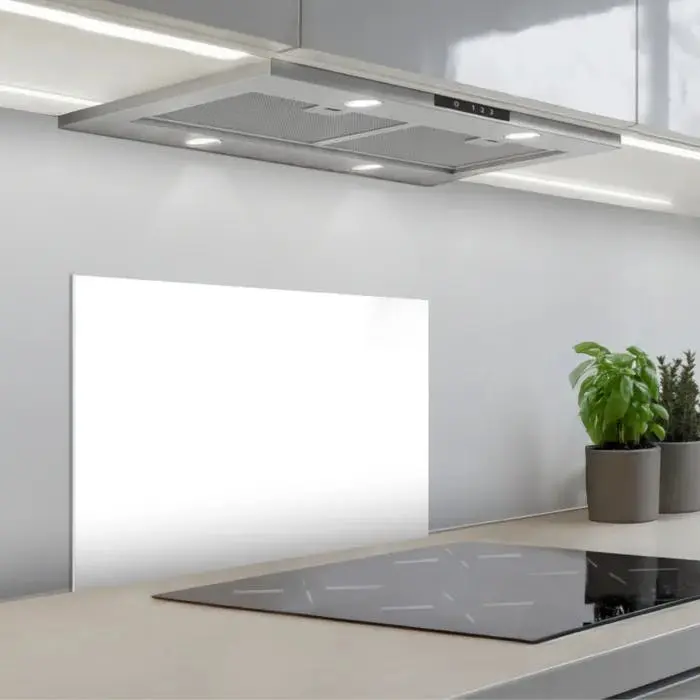
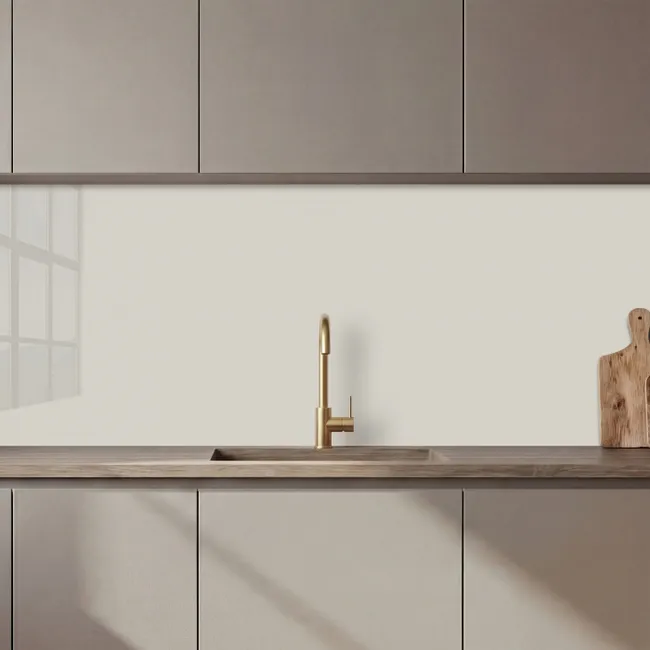
This product is a kitchen splashback panel with a sleek, glossy finish that mimics the look and feel of a glass splashback but is easier to handle during installation. The thickness is 2.6 mm, which helps it feel solid on the wall and gives a more seamless result than many thin sticker solutions. If you want a perfect splashback that looks eye-catching but still fits a minimalist kitchen style, the subtle glass look is a strong starting point. It can become a focal point behind the hob, or it can quietly complement your cabinet fronts and worktops.
Unlike traditional wall tiles, you do not need grout lines that can stain over time, and you do not need to plan a full kitchen design change. The panel is designed to protect your kitchen walls in the areas that get the most splashes and grease. It is easy to clean and also easy to keep clean, which helps you maintain clean and hygienic surfaces around food. If you like the tile aesthetic but want less maintenance, this is one of the best kitchen splashback ideas to consider.
Kitchen splashback colours: from classic white to a dark splashback
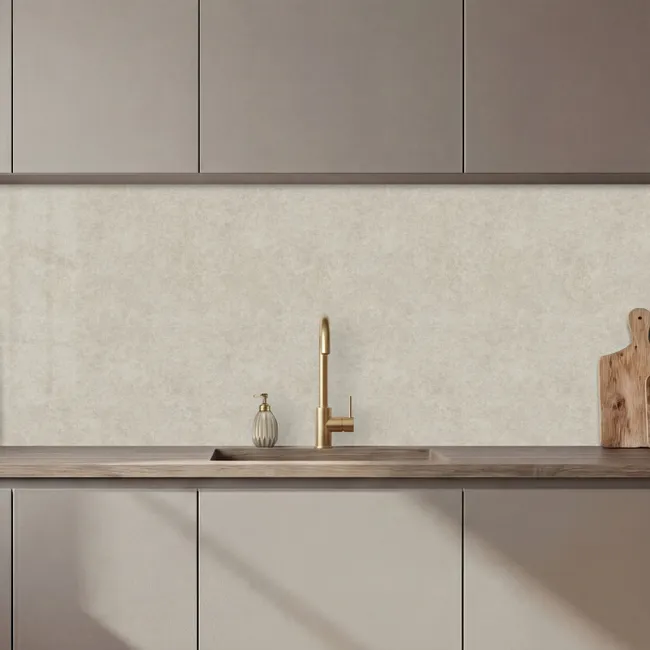
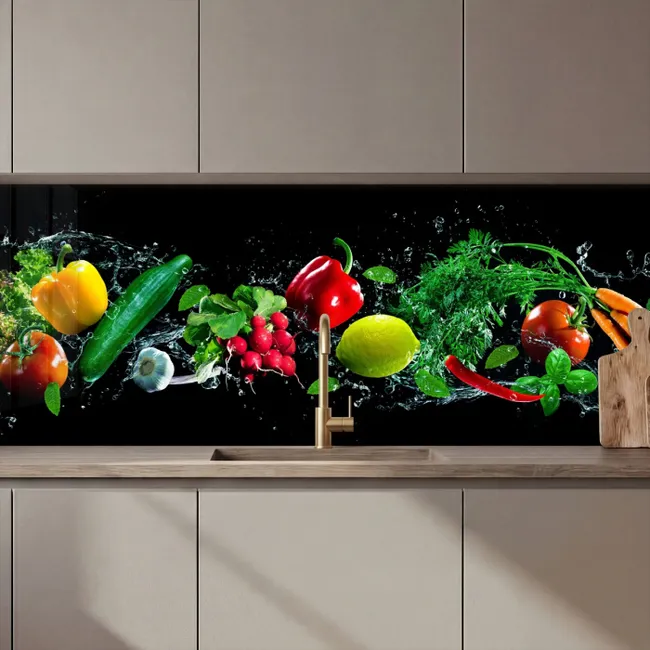
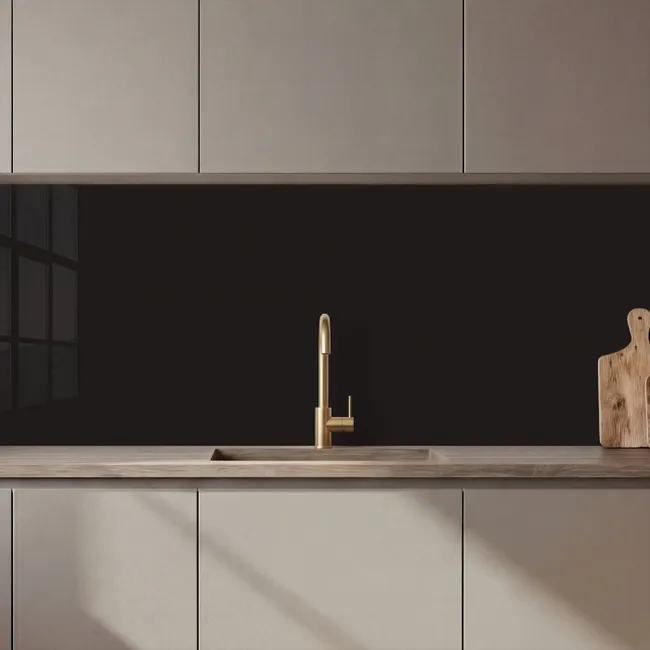
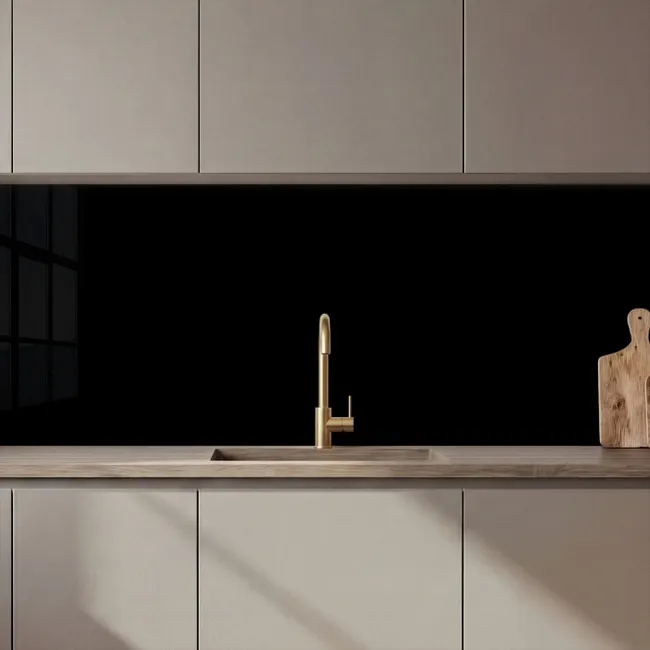
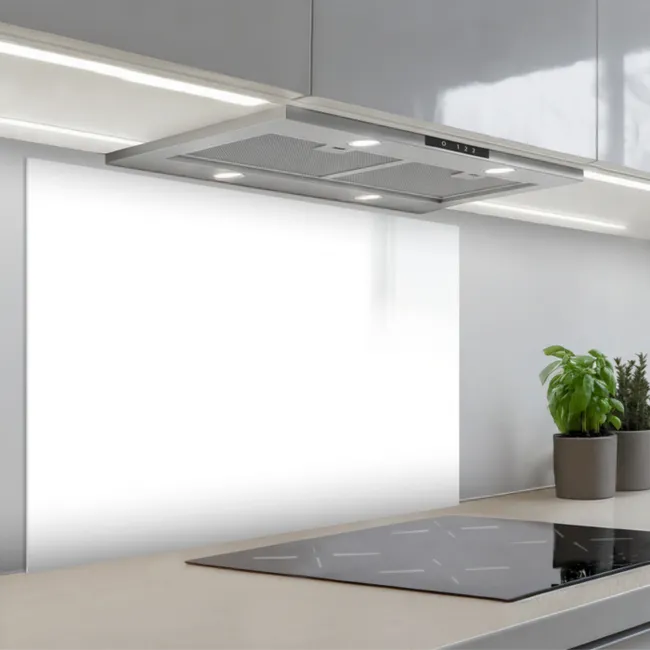
When people ask for kitchen tile backsplash ideas, they often really mean, 'Which colour will look right with my worktop, floor, and cabinets?' With 750+ designs and 2,000+ eye-catchers available, you can choose from a variety of colours and find a range that suits both a bold and a calm kitchen. Think classic white for an airy look, or a dark splashback for a dramatic effect and striking contrast against light worktops. If you want a ready-made starting point, you can view a white kitchen splashback option and build the rest of your décor around it.
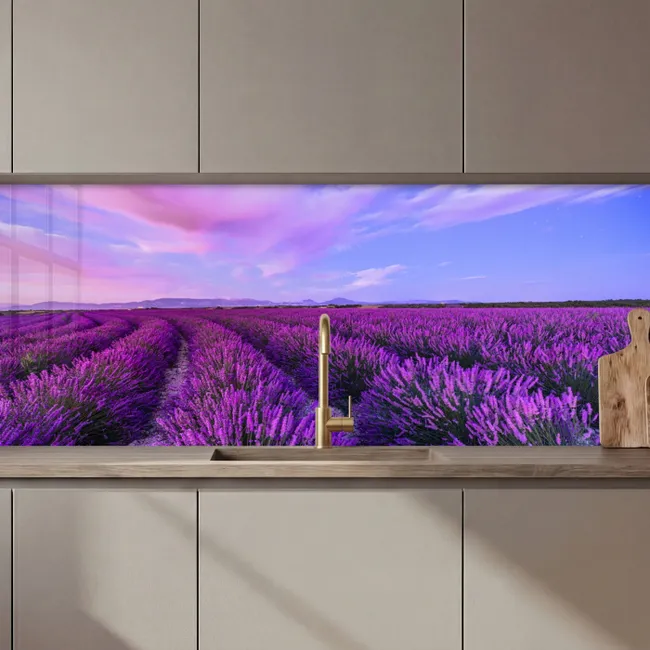
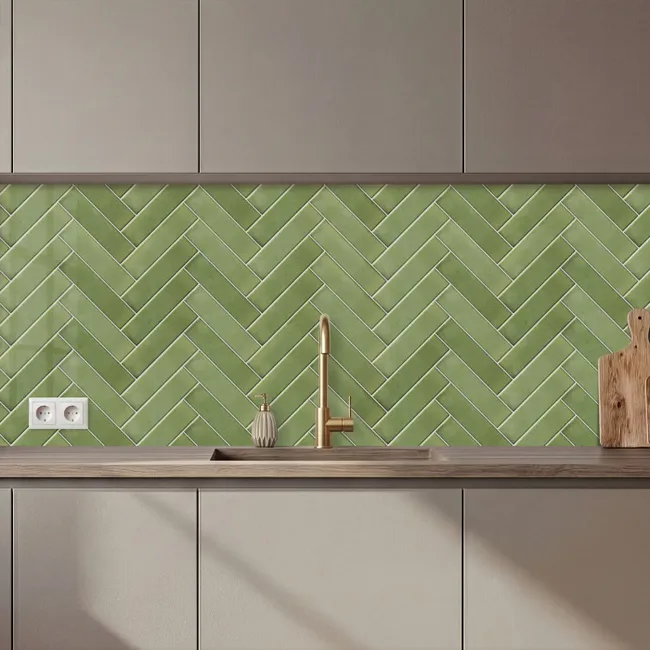
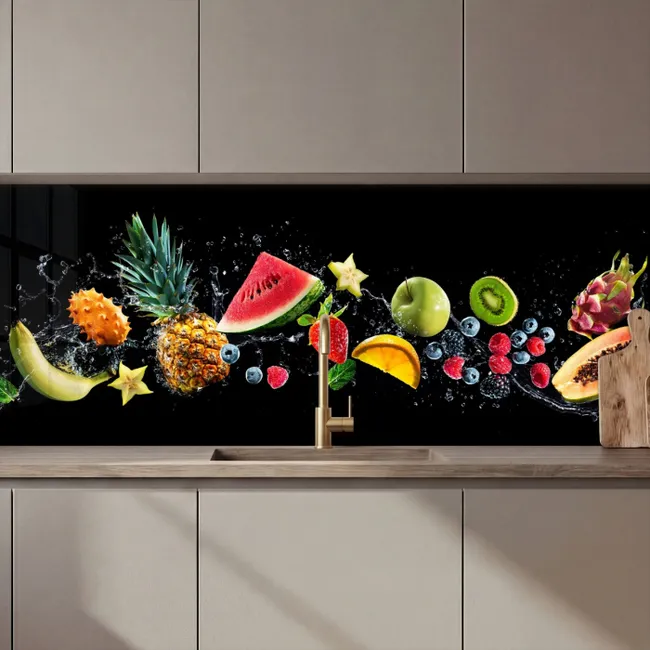
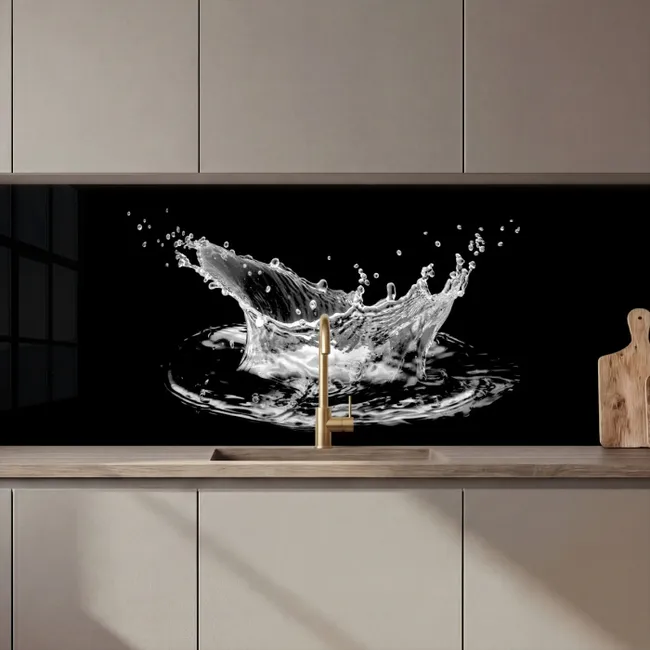
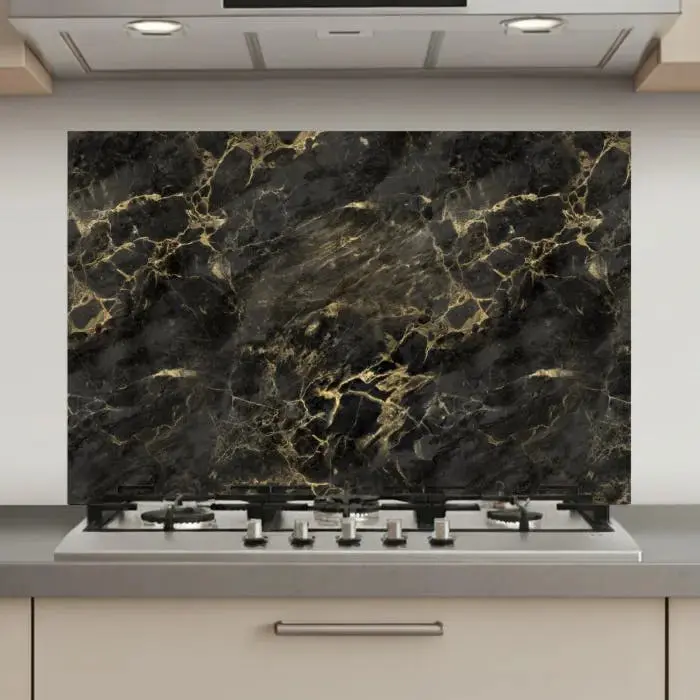
Colour is not only about light versus dark, but also about hue and how it reacts to daylight and artificial lighting. Because the material is UV-resistant, your splashback colours are better protected, which supports long-lasting colour even in bright kitchens. If you love on-trend choices, you can go for emerald tones, warm metallics, or even a colour-of-the-year-inspired style without committing to permanent tile work. For darker schemes, a black kitchen splashback design can look stylish and sleek, especially next to dark wood details.
Tile pattern ideas: metro tiles, mosaics and art deco
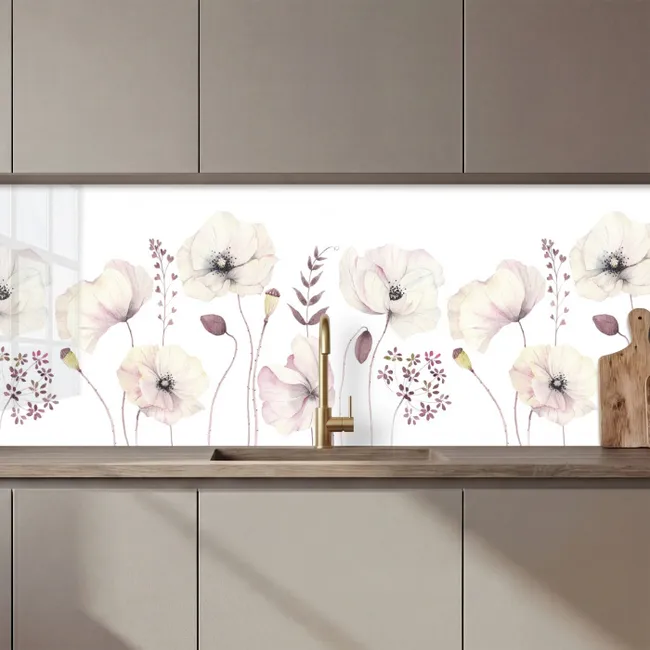
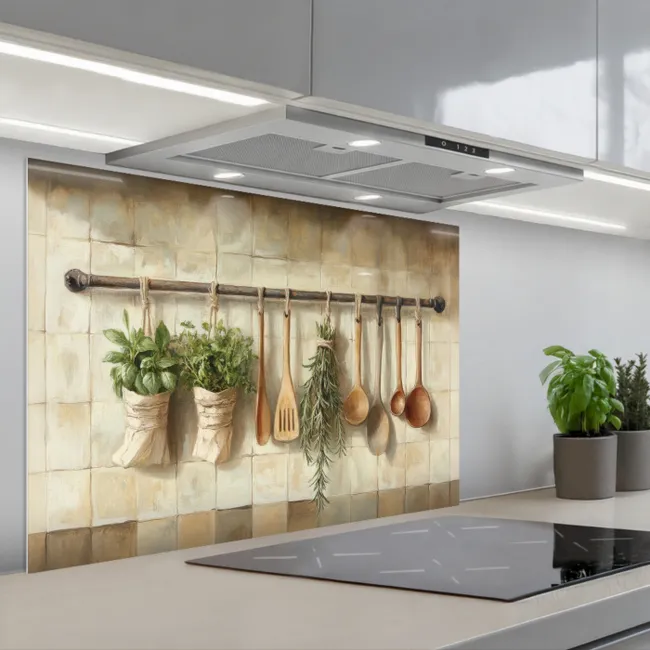
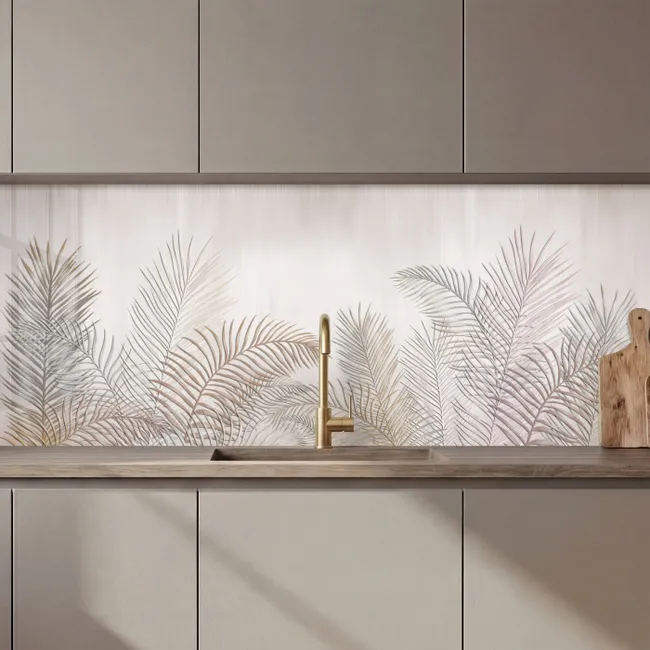
Many kitchen tile splashback ideas start with pattern, because pattern creates visual interest without changing your entire kitchen. You can choose a metro tile look for something that never goes out of style, or pick geometric patterns for a more decorative statement. If you like movement and detail, a mosaic style can add texture and a premium feel, especially when paired with simple cabinet fronts. For a more structured layout, herringbone is a popular tile arrangement that can look modern or farmhouse, depending on the colour you choose.
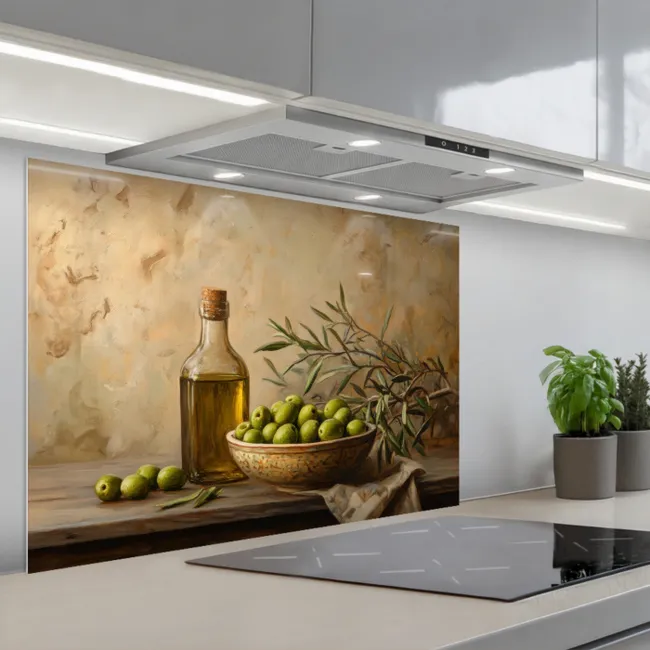
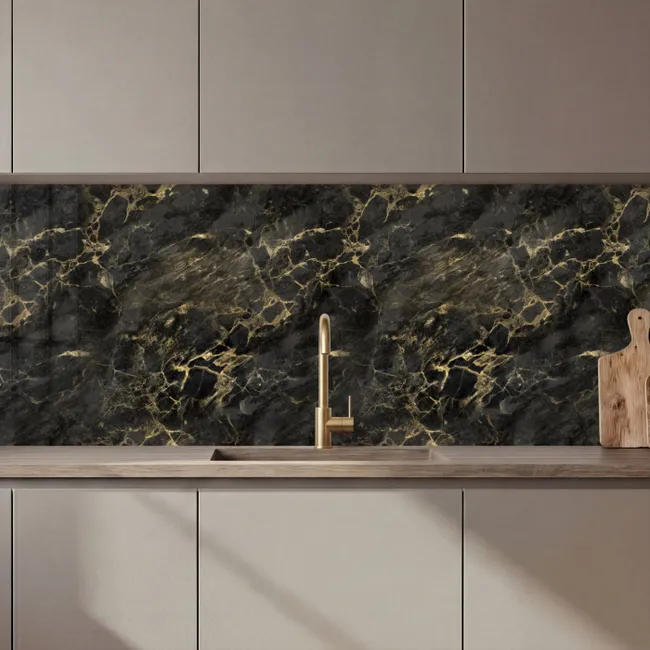
Texture matters too, even when the surface is smooth and glossy, because the printed design can suggest textured tiles, stone, or layered finishes. If you love natural stone, a marble-inspired tile look can feel high-end while staying practical near the hob. Art deco-inspired lines can turn the splashback area into a focal point without cluttering the kitchen accessories on the worktop. If you want more inspiration for patterns and tile styling, browse kitchen splashback ideas and translate those looks into a quick, self-adhesive upgrade.
Will this kitchen splashback stick to tiles and other surfaces?
Yes, it is designed to adhere to almost any surface, including existing tiles, plaster, and painted walls, which makes it ideal when you want the tile look without removing old wall tiles. It also works on wood, concrete, and gypsum, so you can plan your kitchen update around the surfaces you already have. Because it is self-adhesive, you avoid glue, and you do not need tools, which keeps the installation simple and clean. If you want extra security, you can also use Tesa Powerstrips to help fix the panel in place.
This is helpful if you are updating a rental kitchen or refreshing a kitchen space where you want a fast result. You can position the panel behind the hob or along the worktops where splashes and grease are most common. If you are comparing options like splashback tiles versus a panel, keep in mind that this solution gives you a tile-inspired finish with a more seamless surface and less grout maintenance. For people searching specifically for splashback tiles, you can also explore kitchen splashback tiles and focus on designs that mimic your favourite tile style.
Popular kitchen splashbacks


How to measure, cut, and place the splashback for a perfect fit
Measure the width and height of the area you want to cover, usually between the worktop and the wall units, and consider where sockets and edges are. We offer 11 sizes from 60x30 up to 120x80 cm, with 90x60 cm being the most popular size for a typical kitchen splashback zone. Once you have the right size, you can cut the panel to fit using a Stanley knife, which is useful for tight corners or around sockets. This makes it easier to get a neat tile effect even in older kitchens where walls are not perfectly straight.
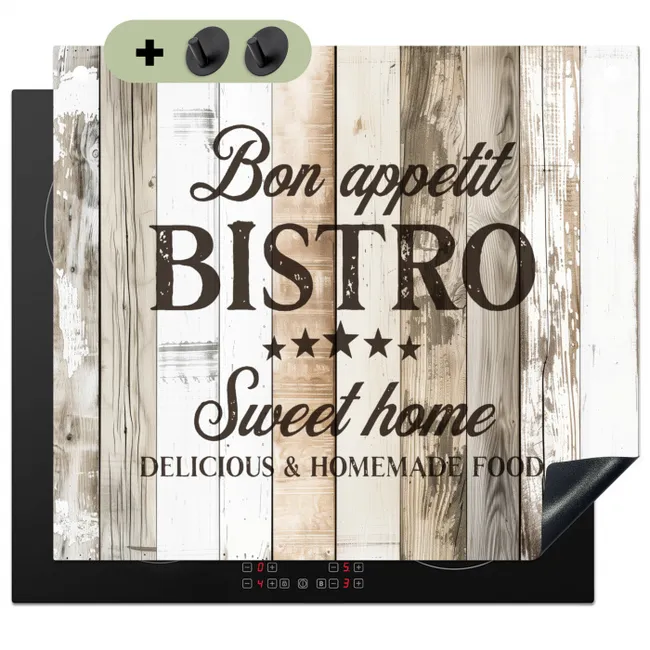
Installation is simple: clean and dry the wall, peel the backing, and press the panel into place for a smooth, bubble-free finish. Because it is self-adhesive, you can complete the job in about one minute, without drilling into tiles or needing any special tools. The 2.6 mm thickness helps the panel sit flat and feel sturdy, which supports a more premium look and feel. If you want something truly personal, you can even order a kitchen splashback with your own photo and turn the splashback into a unique style statement.
Buy your kitchen splashback and upgrade your tile look today
If you want kitchen tile splashback ideas that are fast to install, easy to clean, and designed for real cooking, choose our UV-resistant, PVC-free kitchen splashback panel with a luxury glass look. Pick from 11 sizes, choose from 750+ designs and 2,000+ eye-catchers, or upload your own photo to create an eye-catching focal point behind your hob and worktop. You can buy online and create a seamless, stylish finish without glue, tools, drilling, or grout. Order your perfect splashback now and give your kitchen the tile-inspired upgrade it deserves.
Use a soft cloth with a mild cleaning product to keep the glossy surface looking fresh. Avoid abrasive materials and harsh chemicals, because they can dull the finish and reduce the sleek look.
Yes, strongly coloured food can cause discolouration if it is left for too long. Wipe off residues like tomato sauce or curry immediately to help prevent staining and preserve the colour.
No, it is a high-quality kitchen splashback panel with a subtle glass look, made from UV-resistant and PVC-free material. It is heat-resistant, water-repellent, and designed to be easy to clean for everyday kitchen use.
Yes, it is designed for areas that face heat, water, and grease, making it suitable behind the hob. Make sure the wall is clean and dry so the self-adhesive backing can bond well.